How I Set Up a Bilingual AI Tutorial Site on a Server (Pure Static, with Pitfalls)
Learn how to use AI to build a bilingual static website, from domain setup to server deployment using BT Panel and Nginx.
Using cloud server environment: BT Panel (stable) v10.0.2-LTS, Nginx 1.31.2
In recent years, AI has gradually entered our lives, making it incredibly convenient to build the code projects we want. Building a website is one of them.
Next, I’ll walk you through, step by step as a beginner, how to use AI to write a website for you.
1. Prerequisites
Here’s what you’ll need:
- A good AI tool
- A cloud server
- Your own domain name
2. Domain
Since you’ll need it later, let’s cover this first.
I recommend Cloudflare. Website: https://www.cloudflare.com/ – just a recommendation.
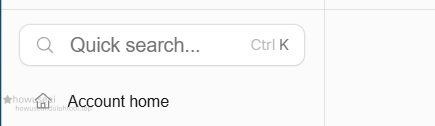
After logging into Cloudflare, add your domain there.

Then type “DNS” in the search box.
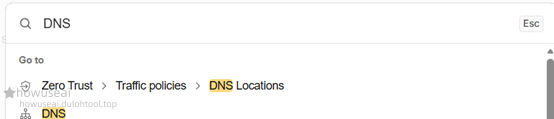
Once you’re in, click this “Add” button.

In field 1, enter the subdomain prefix you want. In field 2, enter your cloud server’s public IP address.
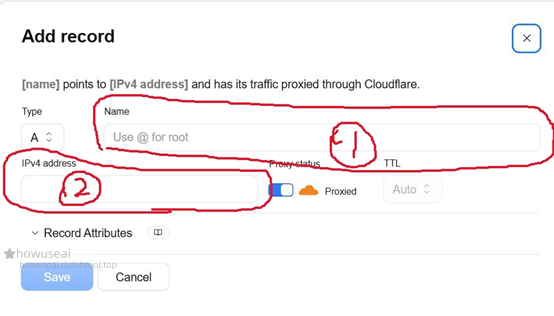
Finally, click Save and you’re done.
3. Using Trae
First, the AI tool. Due to my environment, I chose Trae. If conditions allow, feel free to use other good AI tools.

Here’s how to design with Trae. If you don’t need this, you can skip these steps and use Code mode directly.
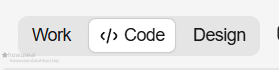
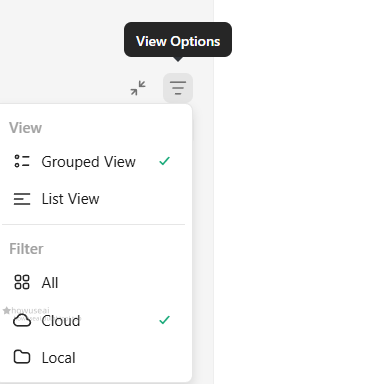
Here you can choose Local or Cloud. Currently, only Local mode lets you use your own models.
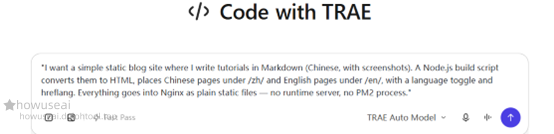
Enter your requirements.
After generation, click here to find the source code.
The code is in the second folder – the first one is not it.
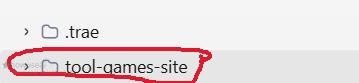
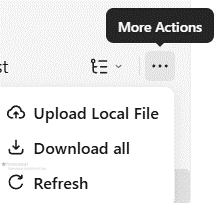
Select “Download All” and then delete the .trae folder.
Note: you’ll need to iterate and revise. It’s hard for AI to satisfy all your needs in one shot.
4. BT Panel – Deploy the Website
After finishing, upload the files to your cloud server and put them in a location of your choice.
Then, on the left sidebar, click “Websites”.
Click “Add Site” (添加站点) to create a new site.
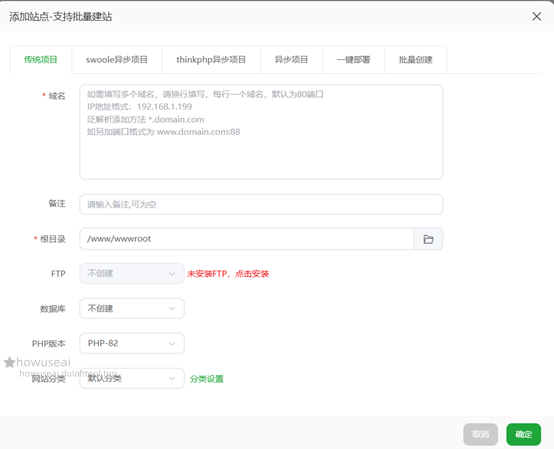
When adding the site, fill in the details. Make sure the runtime directory points to the dist folder. For the domain, enter the one you added in Cloudflare earlier. Important: for the PHP version, do not select Node project – select Pure Static. The screenshot just shows what the interface looks like.
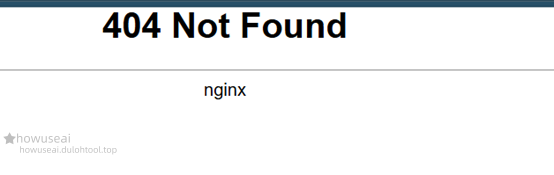
You need to build the frontend first, otherwise you’ll get something like the screenshot above:
Go to the terminal:
cd /path/to/your/files
npm install
npm run build
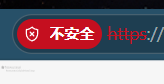
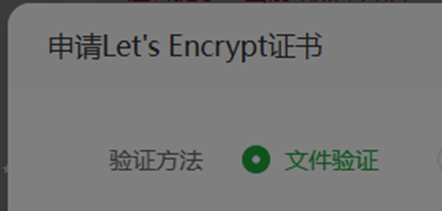
You also need to apply for an SSL certificate – choose Let’s Encrypt. Otherwise, you’ll get a “not secure” warning like this:
Note: some pitfalls vary by environment, so they may differ for you – I won’t list them all here.